Signals
Signals are part of asset data, and represent collected samples coming from real world sensors and information sources.
Signal samples are stored to database along with the timestamp.
Also the old signal data history is available.
1. To add measurement data or sensor data to asset choose “Signal” tab and then click “+”-button.
The following dialog will open:
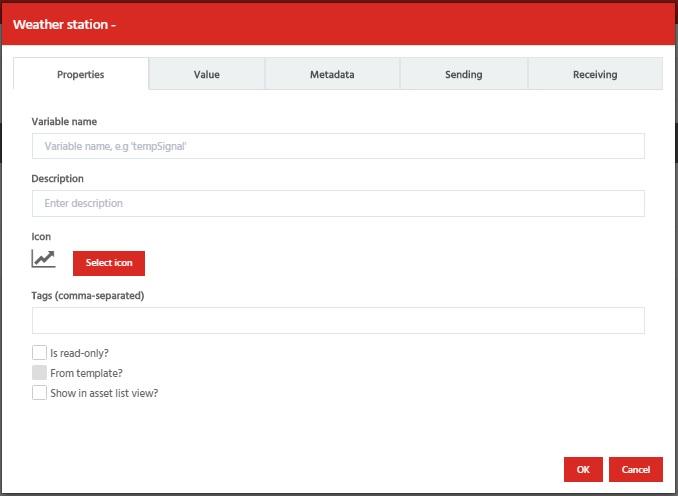
2. Under “Properties” tab you can give a variable name, description and icon for signal. You can also list tags for signal and choose whether the signal is shown in asset list view. It is recommended that you don’t change the variable name afterwards, as it is used to reference the signal.
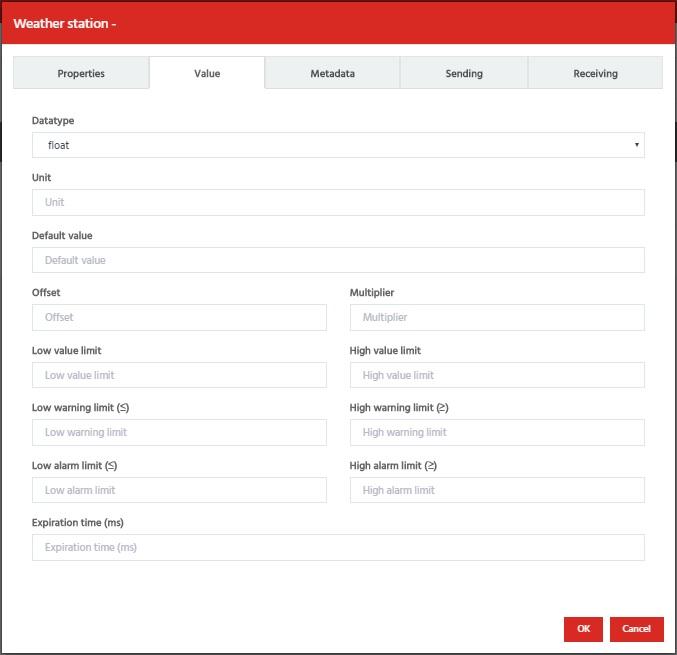
3. In “Value” tab you define a signal more precisely e.g. by selecting a datatype and unit for signal. By clicking “OK” you can save changes or cancel an operation by choosing “Cancel”.
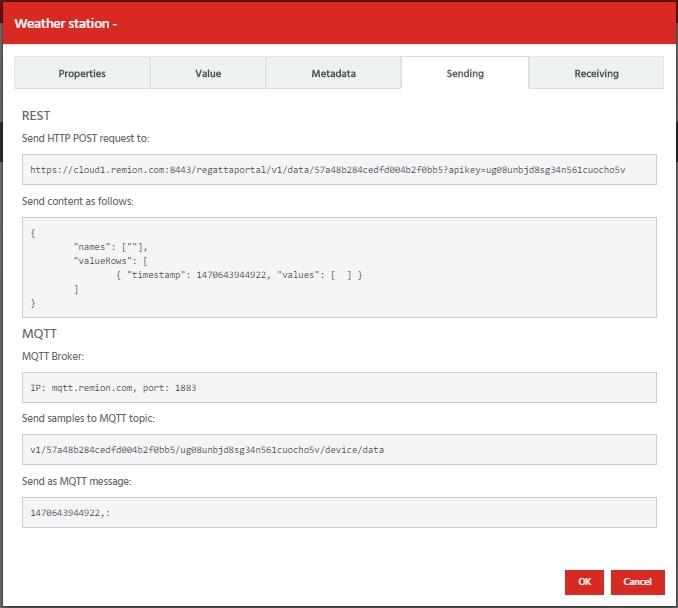
4. “Sending” tab shows how to send real data from your device with related assetId and apikey.
– Target URL of HTTP POST request and content example when using REST API.
– MQTT broker and Topic information when using MQTT protocol.
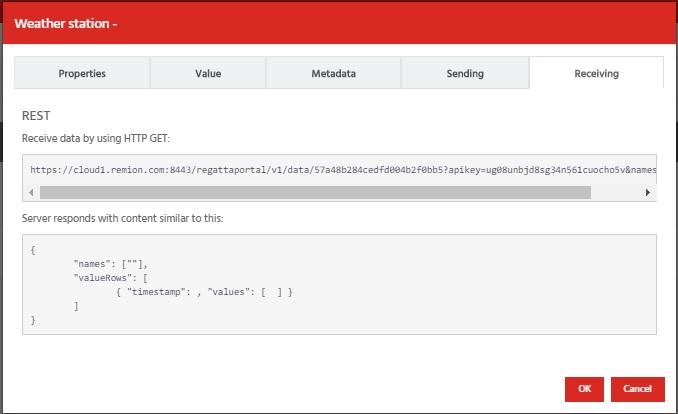
5. “Receiving” tab shows you the source url of HTTP GET request with related assetId and apikey.
You can easily change existing signal definitions by clicking a signal name.
Similar dialog as the one when you created the dashboard will open.
Existing signal can be removed by selecting a signal first and then selecting from “Bulk actions”-dropdown menu “Remove selected”.
If you need to create several same kind of signals, you can copy existing signal definitions as a base for new signals by selecting a signal first and then selecting from “Bulk actions”-dropdown menu “Create copy“.
There is limit of max. 50 signals per asset.